How to Check Tire Pressure Using the Door Placard
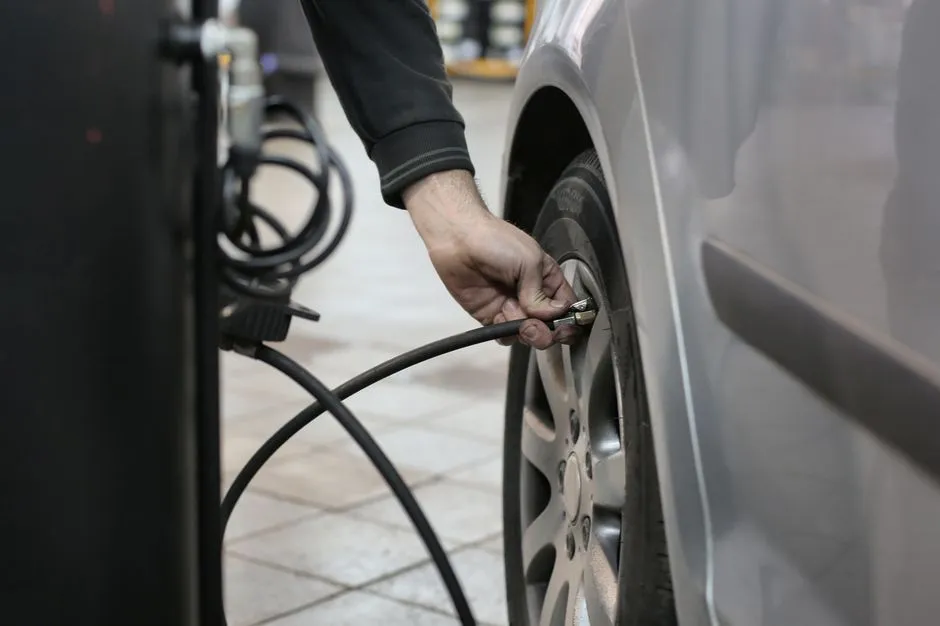
Start with the vehicle's pressure specification
To check tire pressure, find the vehicle tire-information placard—commonly on the driver's door or door jamb—and use its cold-pressure values for the relevant front, rear, and spare tires. Measure with a sound gauge before driving or under the cold conditions defined by the owner manual, then add or release air carefully and recheck.
The tires-and-wheels section starts with that placard. The maximum pressure molded on a tire sidewall is not a substitute for the vehicle manufacturer's recommended operating pressure.
Confirm that the tire fitment matches the plan
Read the placard and owner manual. Record the specified units—often psi, kPa, or bar—and note whether front and rear values differ. Confirm that the installed tire size and load description are appropriate for the vehicle. Modified wheel or tire fitments may require qualified guidance rather than blindly applying advice for the original configuration.
The U.S. National Highway Traffic Safety Administration's tire guidance directs drivers to the vehicle label or manual for recommended pressure, not the sidewall maximum. If the placard is missing, unreadable, or conflicts with the manual, contact the vehicle manufacturer or a qualified tire professional with the vehicle identification and current fitment.
Measure before the trip warms the tires
Pressure rises as a tire warms during driving. Check before the vehicle has been driven or follow the owner's definition and adjustment procedure for cold tires. If a warm reading is above the cold placard value, do not automatically bleed air until it matches the cold number; it may then be underinflated after cooling.
Park on a safe, level surface away from moving traffic. Secure the vehicle and inspect each tire for cuts, bulges, exposed cord, embedded objects, unusual wear, or obvious loss of air. Do not drive on a visibly damaged or severely underinflated tire to “see if it settles.” Arrange appropriate roadside or tire service.
Use the gauge squarely
Remove the valve cap and keep it somewhere clean. Press the gauge straight onto the valve stem so the brief hiss stops and the reading stabilizes. A poor seal gives a low or inconsistent result. Repeat once if the values disagree.
Use a gauge in good condition with a range and units suitable for the vehicle. Built-in inflator gauges, pencil gauges, dial gauges, and digital gauges can differ, so a suspicious result deserves confirmation with another reliable instrument. Do not use a damaged valve stem, and stop if the stem moves, cracks, or leaks.
Adjust in small steps and recheck
Add air in short bursts when pressure is low, then measure again. Release small amounts through the valve only when the cold reading is genuinely above the specified value. Avoid prolonged compressor operation beyond its instructions, and protect eyes and hearing as the equipment guidance requires.
Replace the valve cap after adjustment. Repeat for all four road tires and the spare if the vehicle has one and its access can be handled safely. Spare specifications and access procedures may differ; some vehicles use a repair kit or another system instead.
Treat TPMS as a warning, not the measuring tool
A tire-pressure monitoring system can warn about a problem, but it does not replace regular manual checks. Some displays show individual values; others show only a warning. Thresholds, reset procedures, relearning, and sensor behavior vary by vehicle.
If the warning remains after pressures are corrected under the specified conditions, or if it flashes or behaves unusually, follow the owner manual and obtain qualified service. Do not clear a warning merely to make the dashboard quieter.
Pair tire checks with the guide to checking engine oil so routine inspection stays based on labels and manual procedures. Record the readings and date, especially if one tire repeatedly loses pressure. A recurring loss needs diagnosis; the valve cap is talented, but it is not a tiny threaded mechanic.